Very brief instructions:
- Create a copy layer with a mask
- Use the radial blend tool on the mask from centre of interest point to farthest corner of photo
- set top layer to be subtract (or maybe multiply)
- Use curves on the mask to make sure interest point is not vignetted at all and adjust curve for pleasing vignette effect.
- You can double the power of the efect by simply making a copy of the vignetted layer.
Detailed instructions:


- Select the blend tool and make sure that the "Shape" is set to "Radial"

- Making sure that the mask is selected drag the tool from the centre of the photos important part to the furthest corner of the photo.


- Change the Top layer "Mode" to "Subtract", you can also try some of the other options here for intersting effects such as "Burn"

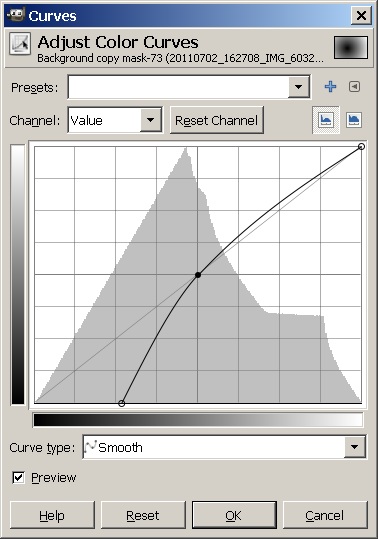
- To modify the vignette:
- Use the curves tool to specify the area excluded from the vignette and also the rate that the vignette is graduated.
- If you can't get the effect powerful enough for your liking (more noticable with other effects like multiply) then you can create a duplicate of the vignetting layer and it will double the power of the effect


 |
| Before |
 | ||
| After |
No comments:
Post a Comment